Image Source: Google
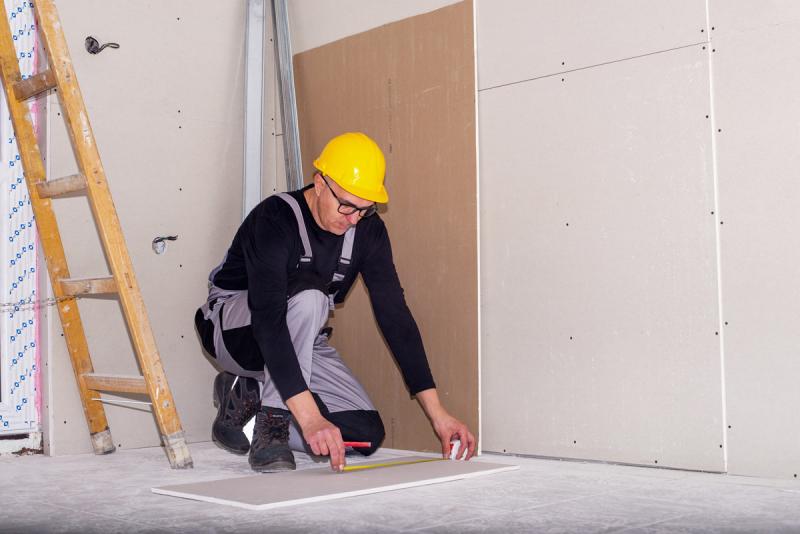
When it comes to home improvement projects, drywall installation, and finishing are two crucial steps that can completely transform the look and feel of a space. Whether you are renovating an old room or building a new home, understanding the art of drywall installation and finishing can help you achieve a professional and polished result.
In this article, we will discuss the key components of drywall installation and finishing to help you transform your space with ease. You can also navigate this site https://revolutiondrywall.com/ if you want to get the best drywall installation services.
The Basics of Drywall Installation
Materials Needed:
- Drywall sheets
- Drywall screws
- Joint compound
- Paper tape
- Sanding tools
- Measuring tape
- T-square
- Utility knife
- Drywall saw
Steps to Follow:
- Measure and cut drywall sheets to fit the space.
- Attach drywall sheets to the walls or ceiling using drywall screws.
- Tape the seams between the drywall sheets using paper tape.
- Apply joint compound over the taped seams to cover and smooth them out.
- Allow the joint compound to dry completely before sanding it down.
- Repeat the process of applying joint compound and sanding until the surface is smooth and ready for painting.
The Art of Drywall Finishing
Tools Needed:
- Taping knife
- Corner trowel
- Mud pan
- Sanding block
- Texture sprayer (optional)
Techniques to Master:
- Feathering: Gradually tapering the joint compound along the edges to create a seamless finish.
- Skimming: Applying a thin layer of joint compound over the entire surface to smooth out imperfections.
- Texturing: Adding texture to the drywall surface using a texture sprayer or other tools for a decorative effect.
- Sanding: Using a sanding block to smooth out any rough spots or uneven areas before painting.
Tips for a Professional Finish
1. Take Your Time
Don't rush the process of drywall installation and finishing. Take your time to measure accurately, cut precisely, and apply the joint compound evenly for a flawless result.
2. Use Quality Materials
Invest in high-quality drywall sheets, joint compound, and taping tools to ensure a durable and professional finish that will stand the test of time.
3. Practice Makes Perfect
Don't be afraid to practice your drywall finishing techniques on scrap pieces of drywall before tackling a larger project. The more you practice, the better your skills will become.
4. Pay Attention to Detail
Inspect the finished drywall surface carefully for any imperfections or rough spots. Take the time to address these issues before painting to achieve a flawless end result.
5. Consider Hiring a Professional
If you are unsure about your drywall installation and finishing skills or simply want a perfect result without the hassle, consider hiring a professional drywall contractor to do the job for you.
Conclusion
Mastering the art of drywall installation and finishing can truly transform your space and elevate the overall aesthetic of your home. By following the steps and tips outlined in this article, you can achieve a professional and polished finish that will impress all who enter your space. Whether you are a seasoned DIY enthusiast or a first-time homeowner, taking the time to learn and practice these techniques will pay off in the long run. So, roll up your sleeves, gather your tools, and get ready to transform your space with the art of drywall installation and finishing!